Need it today? We can save you with our SOS service! Click for more details Click here for same day SOS Service
UK FlagTHE UK'S LEADING SAME DAY PRINTER!

A2 poster printing example showing large format poster display for events and retail

ALL POSTER SIZES


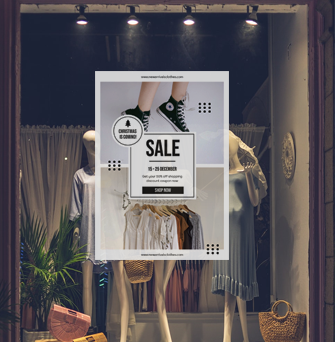
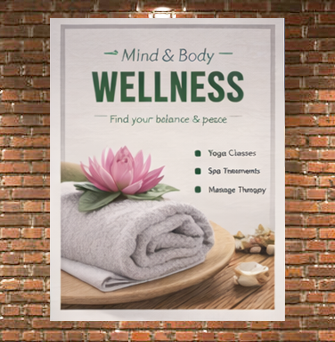
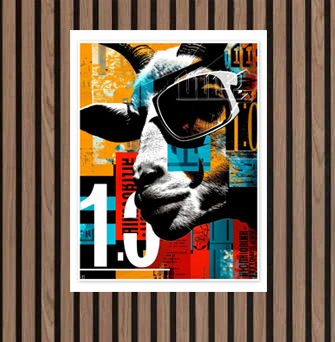
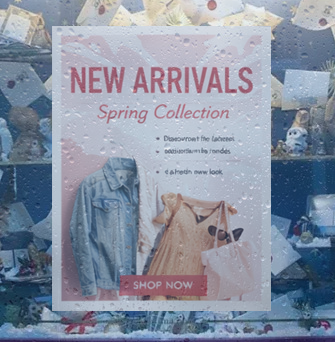
A2 posters (420 × 594mm) offer increased visual impact, making them well suited to shop windows, promotional displays, events, exhibitions, and public-facing spaces. The larger format allows for bold graphics, strong headlines, and improved readability from a distance.

Commonly used in retail environments, shop windows, venues, and point-of-sale displays, A2 posters are an excellent choice when you need your message to stand out while still fitting standard poster frames and display systems.


Choose your quantity and delivery date

QTY STANDARD

Friday 13th November

EXPRESS

Wednesday 11th November

FAST TRACK

Tuesday 10th November


A2 Posters


When time matters, you need a printer that moves as fast as you do. Our A2 poster printing service is built for speed, value and visibility. Order before the cut-off and your posters are printed and dispatched the same day, helping you meet deadlines.

At CheapestPrintOnline, we focus on keeping prices low and turnaround fast — making us one of the cheapest ways to print A2 posters in the UK, even when you’re in a hurry.

A2 posters are large enough to stop people in their tracks, yet affordable enough to use across multiple locations. Whether you’re launching a promotion, advertising an event or updating in-store or window messaging, A2 gives you instant visibility without the commitment of permanent signage.

Because we offer same-day A2 poster print and despatch, you can react quickly — perfect for last-minute campaigns, short-notice events or fast-changing offers.

If you need maximum exposure for minimum spend, A2 posters are hard to beat. They’re ideal for:

• Retail sales and window displays
• Events, exhibitions and pop-ups
• Menus, price lists and notices
• Gyms, salons, cafés and bars
• Temporary signage and promotions

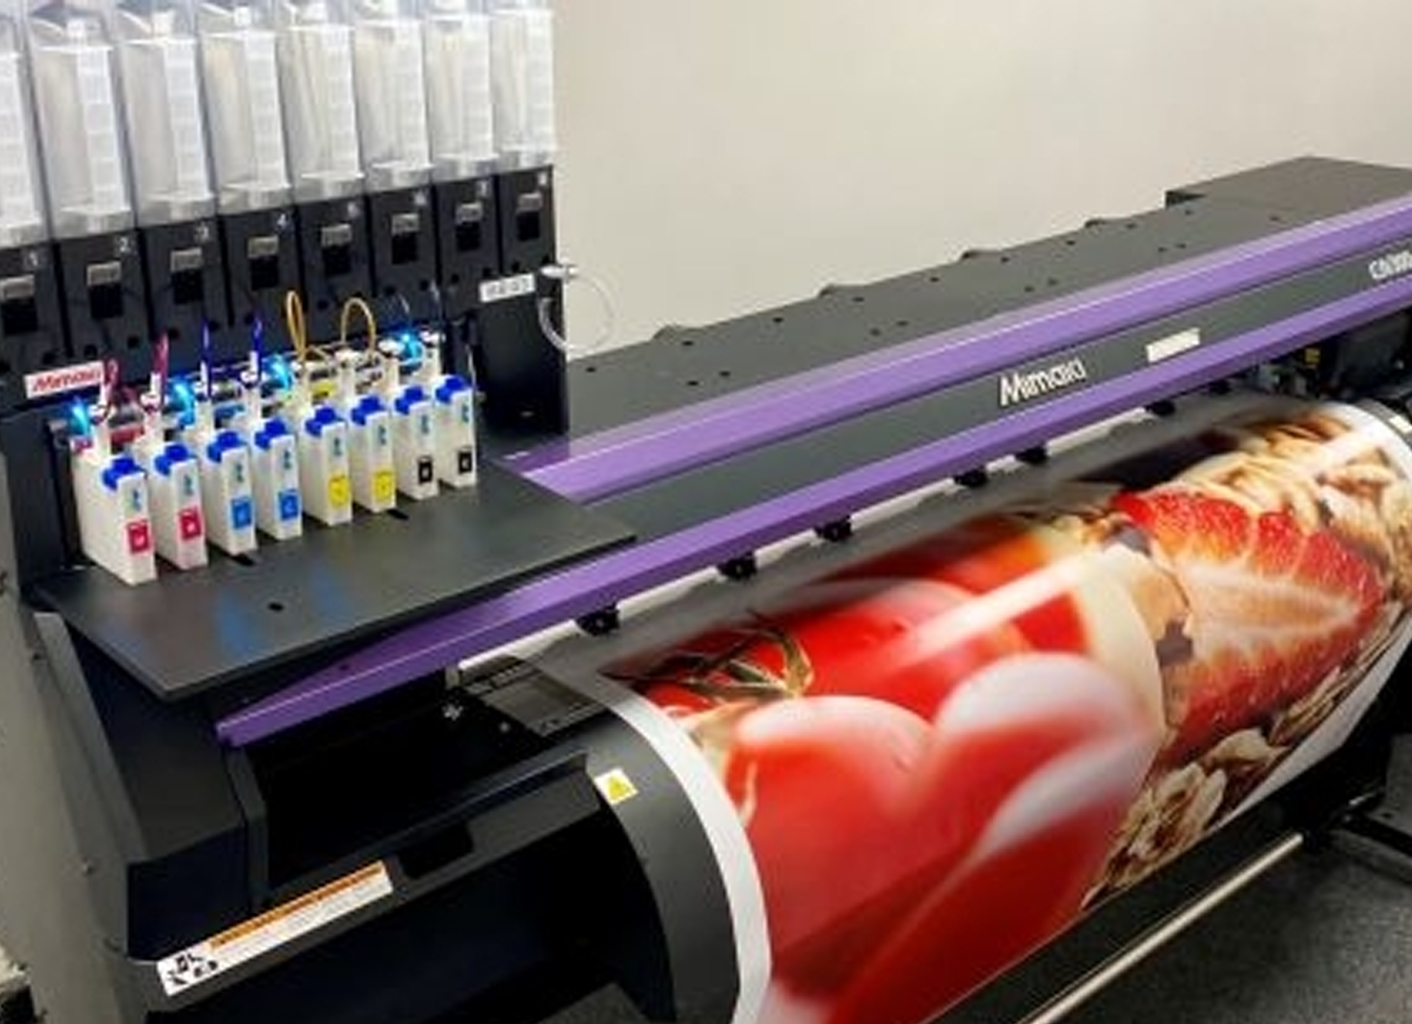
Large format poster printing in progress, showing high-quality colour reproduction and professional print finish

Frequently Asked Questions


What material options are available for A2 posters?

You can choose from 150gsm satin, 200gsm satin, or 200gsm PVC depending on whether your poster is for indoor or outdoor use.

Are A2 posters suitable for outdoor use?

Yes. For outdoor use, we recommend 200gsm PVC which is waterproof and durable.

Can I add lamination to A2 posters?

Yes, lamination is available on A2 posters to provide extra protection against scuffs and moisture.

Do you provide design services?

Yes. You can add our professional design service at checkout, or upload your own print-ready artwork.

Large format poster printer used to produce high-quality posters for events and retail displays

Delivery Options


Standard Turnaround
Our standard turnaround is based on 5 working days, with artwork approval required by 12:00pm.

Express Turnaround
Approve your artwork by 12:00pm and receive your prints within 3 working days.

Fast Track Turnaround
Approve by 12:00pm to receive your prints the next working day.

SOS Service
For next-day delivery when you miss the cutoff, contact us for a quote.

Delivery

Templates

Click to download your template or design your own artwork using Canva:

Our Templates
Our templates are pre-sized with guides for trim and safe areas. Delete the template after designing.

Templates

Artwork Guide

Whether you’re new to print design or just want to double-check you’re doing things correctly, this guide outlines the key considerations when supplying artwork — helping you avoid delays or unexpected results.

Creating your artwork

Start by creating a new document using your preferred design software or online design tool. This can be anything from a simple browser-based editor to professional design software.

  • • Online tools: Canva and similar browser-based designers
  • • Adobe Creative Suite: Photoshop, Illustrator, InDesign
  • • CorelDRAW: Bitmap and vector design support
  • • Microsoft Office: Word, Publisher or PowerPoint
  • • Other software: Any tool that can export a high-quality PDF
  1. • Set your document to the correct finished size.
  2. • Keep important text and logos inside a safe area.
  3. • Add images, text and colours to build your design.
  4. • Export your final artwork as a PDF.

Print & colour guidelines

  • • Keep text and important elements at least 3mm from the edge
  • • Extend background colours and images fully to the edge of the page
  • • Avoid borders where possible — trimming tolerances can make them appear uneven
  • • Use images at 300 DPI for sharp, professional print quality
  • • Supply artwork as single-page PDFs

Colours on screen often appear brighter than in print because screens use RGB colour made from LED light, while printing uses CMYK inks applied to paper. This difference means some colour variation is normal when moving from screen to print.

Our proofing system automatically converts your artwork to CMYK and shows you exactly how it will print before approval.

For solid black areas, we recommend using a rich black mix:
C 60% / M 60% / Y 0% / K 100%

Before you approve

  • • Check spelling, grammar, prices and dates
  • • Review yellow tones carefully after upload
  • • Ensure no important content sits close to the edge
  • • Only approve when you’re completely happy

Uploading your artwork

After placing your order and completing payment, you’ll be taken to our file upload page. This is where you upload, preview and approve your artwork before it goes to print.

Step 1 – Choose your product

Select the product you’ve ordered. If your order contains multiple items, start with the first product listed.

Step 2 – Design service (if purchased)

If you’ve paid for our professional design service, select this option to complete a short design brief. A proof will be emailed to you within 3–4 working days.

Step 3 – Upload your file

Choose the correct size and orientation, then upload your artwork file. For double-sided products, upload each side separately — or upload a two-page PDF containing both sides.

Step 4 – Preview and adjust

You’ll see a live preview of your artwork. Your design should reach the black edge line. If needed, use the crop and resize tools to make your artwork fill the page.

Step 5 – Final check and approval

Carefully review the final preview — what you see on screen is exactly what will be printed. Enter your invoice number and product code, then click Approve & Print.

Once approved, your file enters our automated production workflow and no changes can be made.

Need more help?


Responsive Design